How to Make Your Own Strawberry Jam
By: Sara Dougherty
“Strawberry fields forever.” I have fond memories of harvesting strawberries in the summertime. Each year, they are a treat that nobody should miss out on! While these little red fruits are very tasty to eat fresh, some of you may be wondering if there is a way to make this delicious snack last longer. Since I can remember, my grandmother has always made her famous strawberry jam in the summer. Every year after the harvest, it was up to my sisters and I to help her in the kitchen. As I write to you today, there sits a jar of this legendary spread in my refrigerator waiting for tomorrow’s toast! Making jam was always a wonderful way for I, as a little girl, to spend time with my family. I never realized how influential these moments would be until reflecting later on in my life.
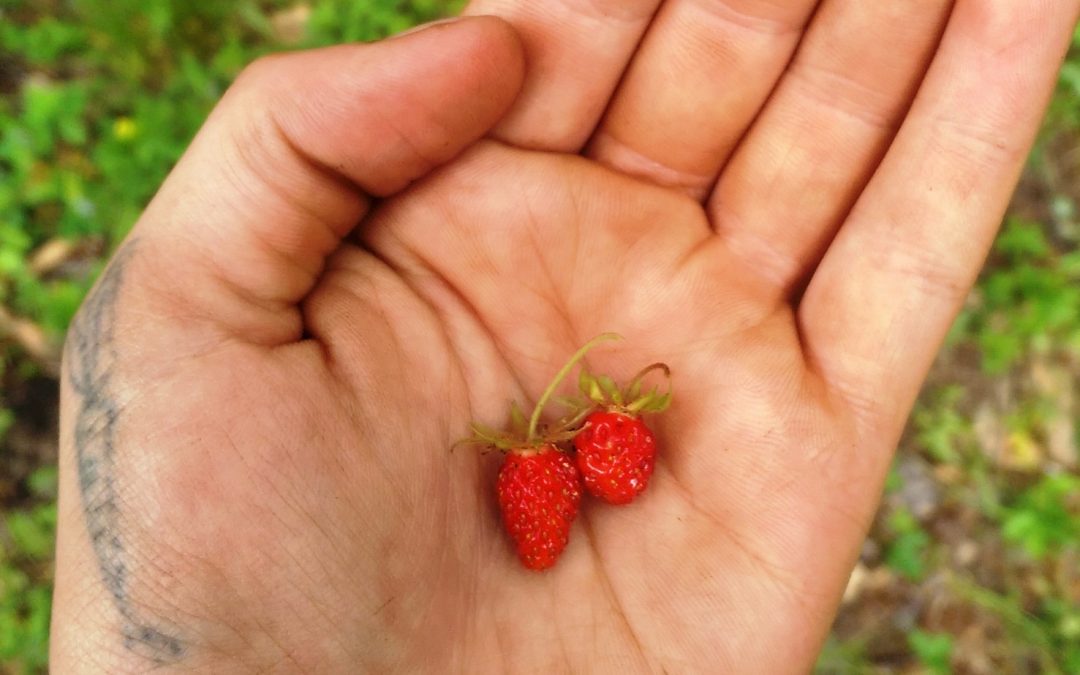
Jams are a great way for everyone to benefit from the readily available joy of eating berries year round! Here at Osgood, we are actually fortunate enough to have this wonderful plant as a wild edible variety that naturally grows around our garden. Strawberries grow low to the ground and oftentimes are a bright red that stand out from their surrounding green foliage. Strawberries wear their seeds on the skin of the fruit. This is one of the key identifying characteristics of the berry that you should look for when harvesting. Although cultivated strawberries tend to produce not only bigger fruits but a larger yield, the wild version at Osgood, in my opinion is sweeter than anything store bought. These strawberries, although different from your typical farmed berry, still make for a delectable jam component. Due to their size, my grandma often would have us add a few of the small wild berries to a mixed berry jam. This was a great way to ensure she incorporated both her farmed berries with the ones she harvested in the fields.
Obviously, before being able to make jam, you have to collect your berries! Once you’ve harvested your fruit, you want to make sure you have about 3 pounds; this will amount to roughly 5 cups of crushed strawberries. My grandmother always used 8 oz. canning jars and although there are many ways to can food, she swears by the “water bath” canning method. We’d first start by preparing the boiling water canner. Grandma always heated the jars in a simmering bath but never let them get to a boil. It was my sister’s job to make sure while the jars set, to wash the lids and bands in soapy water. After we prepped our jars, grandma would pull out a large metal saucepan to begin combining our ingredients in. She’d add our 5 cups of mushed strawberries in with ¼ cup of lemon juice. Sometimes she’d make a lemony strawberry jam, which meant adding the grated zest of a lemon to the mushed berries. While this mixture sat in the saucepan, my grandmother would slowly stir in the 6 tbsp. of pectin. After all was added, the strawberry soup was brought to a full rolling boil that was then stirred constantly by yours truly. Once we got the mixture to a boil, my grandmother would add in four cups of cane sugar. Often times ingredients lists nowadays call for more sugar than that so use your best judgment and know your pallet. Once the sugar was poured in, I would stir everything until I saw that all the sugar was dissolved into the concoction. Bringing everything again to an aggressive boil would then follow this.
My grandma Shirley would take over at this point to remove the saucepan from the heat. I remember her sometimes having to skim off a small top layer of foam, but this didn’t always form with each batch. The next step was for my sister and I to ladle the hot jam into our warmed jars. My grandmother always stressed that we needed to leave space in the jar at the top, only about a ¼ inch of headspace. After filling each jar, we’d wipe down the rim, center our lids onto the jar and apply our bands until they were nice and tight. After we had each jar full of the strawberry mixture, we’d then watch my grandmother put each jar into the boiling water canner for about 10 minutes. After sitting in the hot water, the jars would be removed and cooled. After all is said and cleaned up, make sure to recheck your lids after 24 hours to insure that they aren’t flexing up and down when the center is pressed.
My grandmother got so good at making her traditional strawberry jam, that every year she’d try making new flavors of it. One year we tried making a vanilla strawberry jam which was by far one of my favorites. Through trial and error, we ended up learning that it tastes a lot better if you use a vanilla bean instead of the vanilla extract. Another type of strawberry jam my grandmother makes is what she calls her tangy strawberry jam. This includes balsamic vinegar as a secret ingredient. Sorry gram! This jam is our favorite to use with savory dishes or even on a delicious piece of homemade bread. Needless to say, there are plenty of variations to the traditional strawberry jam and there is bound to be one that fits your fancy. If you are interested in learning more about canning your produce, feel free to get in touch with us through our blog! There are always fun ways for us to all join hands and enjoy the fruits of our labor together. If you haven’t already, why not start canning today? Happy Gardening!
